
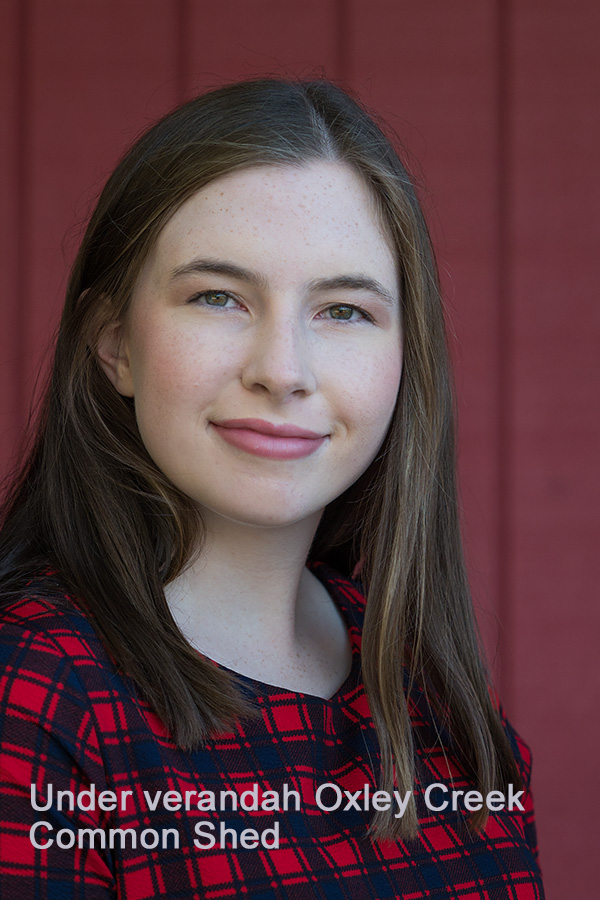
Photographing Portraits Outdoors using Available Light by Gaye Edwards
What Gaye Edwards doesn’t know about portraiture isn’t worth knowing. This is a copy of Gaye’s notes from the club’s recent photoshoot at Oxley Creek Common, where Gaye talked us through the ins and outs of shooting portraits in the great outdoors.
Know your camera
All photography is easier if you can use your camera’s knobs and menus instinctively.
Lens choice
For portaits, never less than 50mm if possible (prime or zoom). Wide angle lenses can distort facial features.
My personal settings
Shoot in RAW
Aperture Priority (as depth of field is a wonderful artistic tool to enhance your images)
Shallow DOF softens the sharpness of the background, helping remove distracting elements and creating an engaging portrait. (F2.8, F3.5, etc – stop down aperture if a group of people, e.g. F8. A tripod useful if shooting a crowd – allows you to wrangle the herd, and then press the button. Several times.
ISO Auto if your camera handles high ISO well – most recent cameras are great.
Watch your shutter speed ALL THE TIME when in Aperture Priority in case your subject moves (or your hand shakes!). Particularly when photographing children. Greater than 1/125s.
Use centre point of focus (aimed at eyes). Include a bit more than necessary in your composition and crop in post processing.
White Balance Auto or Daylight or use a Grey Card to set custom white balance (in camera or in post processing).
Other points to note
Soft smiles
Keep your image clean. Have a simple background. Watch for tree branches seeming to grow out of heads.
Watch for very bright spots in the background bokeh (sunlight shining through leaves etc) – move around for best angle of view. Or clone out bright spots in PP.
Choose ONE point of focus in your camera’s settings – and focus on an EYE (the one closest to camera if face on angle)
Location
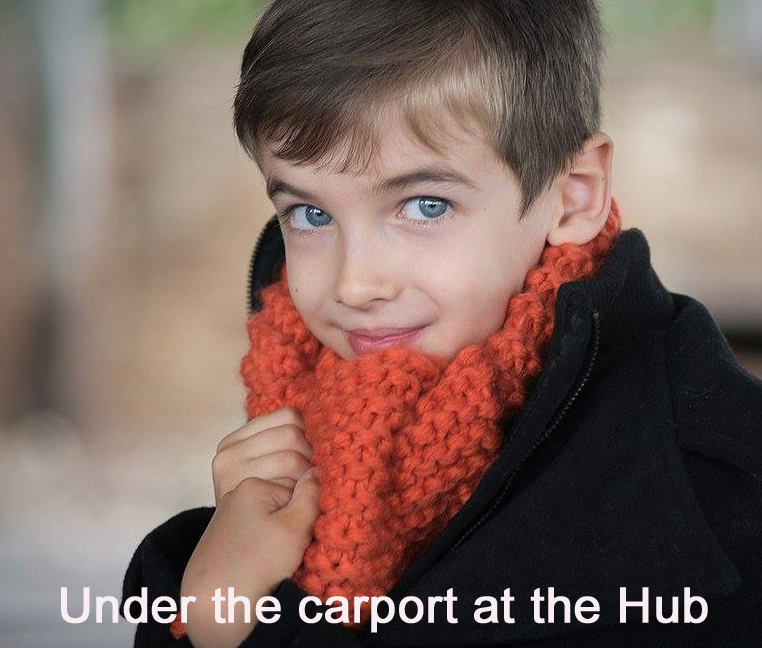
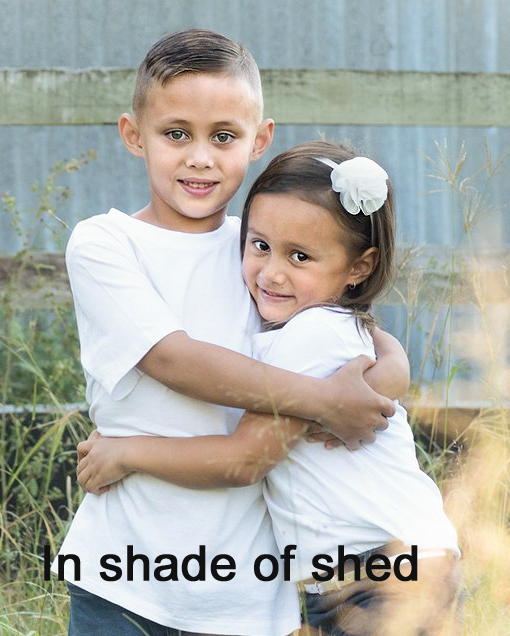
Shoot in the shade, or open shade - under trees or buildings; verandas and doorways are perfect. Place subject where background is free of clutter, away from plants or structures with busy designs.
Clouds are nature’s softbox
Outdoor Portrait Photographers LOVE overcast days! Cloud cover enriches colours and provides smooth shadows.
Avoid bright sunlight which throws severe shadows across a face and causes subjects to squint their eyes. If you must use bright sunlight, a commercial diffuser or scrim (and an assistant to hold it up high above the subject) can remove harshness from the light. Commercial reflectors can control direction of harsh light. Have subject look away from direction of sunlight, use reflector to bounce some light back. A white bedsheet, a white wall, even a white truck or large piece of card can also be a reflector.
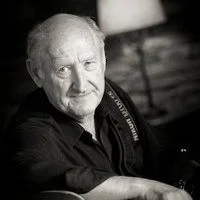
Tips for Travel and Street Photography by Peter Aitchison
Street and travel photography are amazing genres. Quite a few QCG members have a special interest (and talent!) for this area of photography. Anne Pappalardo asked Street and Travel photography guru, Peter Aitchison for his tips.
Peter Aitchison is a renowned travel and street photographer whose work is widely collected and hung in various prestigious UK galleries. QCG President Anne Pappalardo will be undertaking a photo walk in Manchester, England, with Peter later in July, and took the opportunity to ask Pete a few quick questions that might help us to improve our travel and street photography:
People (in the shot) or no people?
Hmmm too general …. If the shot works it works.
Best tip for asking to take a stranger’s portrait?
Smile!! Show the camera, be upfront.
Tell them why you want to take the pic, tell them they look great.
What’s in your kit and why?
Ok I shoot Fuji …. Don’t like the company but the gear is good.
XPro 2’s and X100F.
I only use prime lenses.
Favourite country for street and travel photography?
Wow that’s tough… but I have got to go with India.
Black and white or colour?
Ah!!
I tend to look at countries in BW or colour …. So for instance, India colour (but not portraits).
Paris BW, NY BW, Manchester BW ….. etc
But again it’s general and if the question means what do I prefer it’s going to be a good, contrasty BW.
Do you lean more towards art or journalism in your shots?
I like to think art but I def have a journey streak in me from my press days.
Best travel and street photographic tip.
Wear great shoes!
Pete’s exhibition at Gateway Gallery has just concluded but his images from that exhibition (a beautiful mix of Manchester street shots and travel portraits) can be found here: http://online.pubhtml5.com/ozmt/bihr/
In late October/early November Pete will take a small group to Rajasthan, India to attend the annual five-day festival that is the Pushkar Camel Fair. Festivities include moustache-length competitions and camel races, and there’s even a camel beauty pageant - an incredible spectacle and a photographers dream! The trip also takes in Delhi, Jodphur which is known for its intense blue buildings and brightly dressed locals, as well as Udaipur for a few days to explore this Holy City with its magnificent lakes and temples.
If you’d like to join in full details can be found here: https://www.peteraphoto.com/trips/india-2019.html

Image from Pete’s current trip where he’s working Las Vegas in 100 degree temps.
My Photography Journey, by Betty Collerson
We invited QCG member, Betty Collerson, to reflect on her photographic journey and in particular, what she has gained by being a part of a camera club. We hope you enjoy Betty’s story, and the visual journey reflected in the timeline of her images back to 2011.
We invited QCG member, Betty Collerson, to reflect on her photographic journey and in particular, what she has gained by being a part of a camera club. We hope you enjoy Betty’s story, and the visual journey reflected in the timeline of her images back to 2011.
My interest in photography started early. My father, a keen amateur photographer, gave me my first camera when I was 10. I had a few cameras over the years, but with the arrival of children, I mostly took snapshots for the family’s photo albums. It wasn’t until 2011, during my first trip to Japan, that my interest in photography rekindled. It was the fall season and the colours where amazing. I had an Olympus E-PL3, or Pen, and managed to get some decent shots, which more recently were reprocessed, and much improved, due to my acquired skills in Lightroom and Photoshop. Luckily, don’t ask why, these images we all taken in Raw at the time.
In the following years, I continued to enjoy photography. However, wanting to improve, in 2016 I decided to join a camera club. Instead, I ended up joining two – the Queensland Camera Group and the Brisbane Camera Group. My strategy was to attended a few meetings of each and then decide. Well… three years later, I am still a member of both groups, and nowhere ready to let one go. Both clubs have helped me tremendously to improve, not only on how to take better photos, but also on how to best process and present the images. At QCG, and BCG, I have met a wonderful group of people, generous in sharing their knowledge and skills. I have learned from my peers, the judges, and from the opportunities afforded to me as an active club member.
As most keen photographers will understand, soon I felt that I needed better cameras and lenses. That little Pen wasn’t so sharp. I progressed to an Olympus E-M5II, with some Pro lenses, as well as Nikon D750 with two very good lenses. When you compare the two images of Uluru, one taken in 2014 with the little Pen and the other in 2017 with the Nikon, the results speak for themselves.
Adding to the improvement in camera gear, and skills acquired as a camera club member, was also the learning imparted by experts in the field during photography trips. For example, the 2017 trip to Uluru was led Stef Dunn, who I met through QCG.
Finally, the image of the dog chasing the ball, taken May 2019 with the Nikon D750 and Nikor 300mm lens, made me realised how much I have learned in the last three years. Capturing this shot - a dog and ball in full speed, but at different speeds, in harsh light, required skills I didn’t have before. Thus, I am very grateful for all the learning and encouragement I received at QCG, not to mention the friendships. I hope to continue my photography learning journey for years to come.

The Fall in Japan - 2011

Vegetation in the Red Centre - 2014

Uluru at Sunset - 2014

Uluru at Sunset - 2017

Child at Play in the Amazon - 2015

At Nudgee Beach - 2016

ANZAC Day Dawn Service - 2017

At Nudgee Beach - 2019
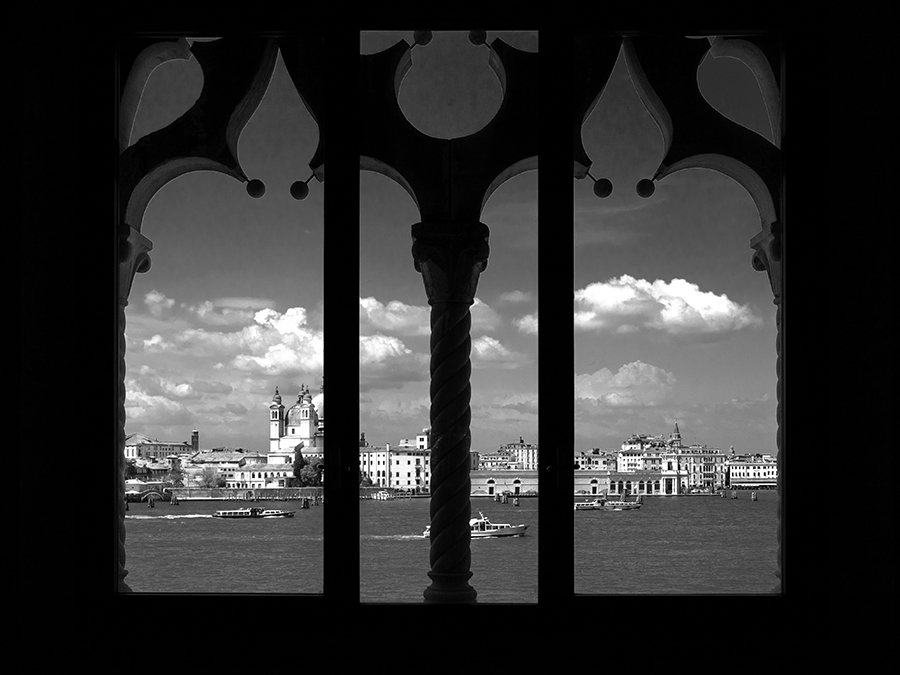
Portrait / Black & White Tips
Rob Heyman is a Brisbane based photographer who is also a Triple Master of Photography with the Australian Institute of Professional Photography. He is recognised as one of the leading portrait photographers in Australia. Rob's expertise is internationally recognised and as a result he is asked to speak at photographic events worldwide – including last April (2018) at the QCG in Bardon!

Following is a small excerpt from Rob’s talk – if you’re interested in portraiture, this article is a start. You can also follow Rob on Facebook where he regularly shares his latest portrait work, mostly of farmers in Victoria. Rob’s approach to portraiture photography is to choose natural outdoor locations for the optimal light conditions and backgrounds. His folio of award winning images is testament to his remarkable talent. He is also a lover of black and white, and was more than happy to share his experience both in portraiture and black and white processing with QCG.
Below is a summary of some of the points shared by Rob:
Rob always shoots around 5.00pm in the afternoon, or starts an hour before sundown;
Posing – the tip of the nose must not break the side of the cheek; don’t show the back of the hand and don’t shoot from less than 6ft away from your model;
Research and become an expert on the theory of posing – inspiration can be found from:
. Yousuf Karsh https://karsh.org/
. Irving Penn https://www.irvingpenn.org/portraits//
Documentary style photographers include:
. Steve McCurry http://stevemccurry.com/
. Mary Ellen Mark http://www.maryellenmark.com
.Rob shoots with two lenses – a 24 – 70 and his preferred 70 – 200; has a spare macro as backup but never uses it;
Vignettes just about every photo – stops arms and legs dropping out of the image;
Don’t allow highlights to overwhelm; enable the Highlight Indicator on your camera or the ‘blinkies’; turn your LCD panel to black and white and get a better feel for how your image will look – this will also help draw your attention to unwanted elements in your composition;
Rob has three requirements when scouting for location:
- Find a good background;
- Then, establish your foreground;
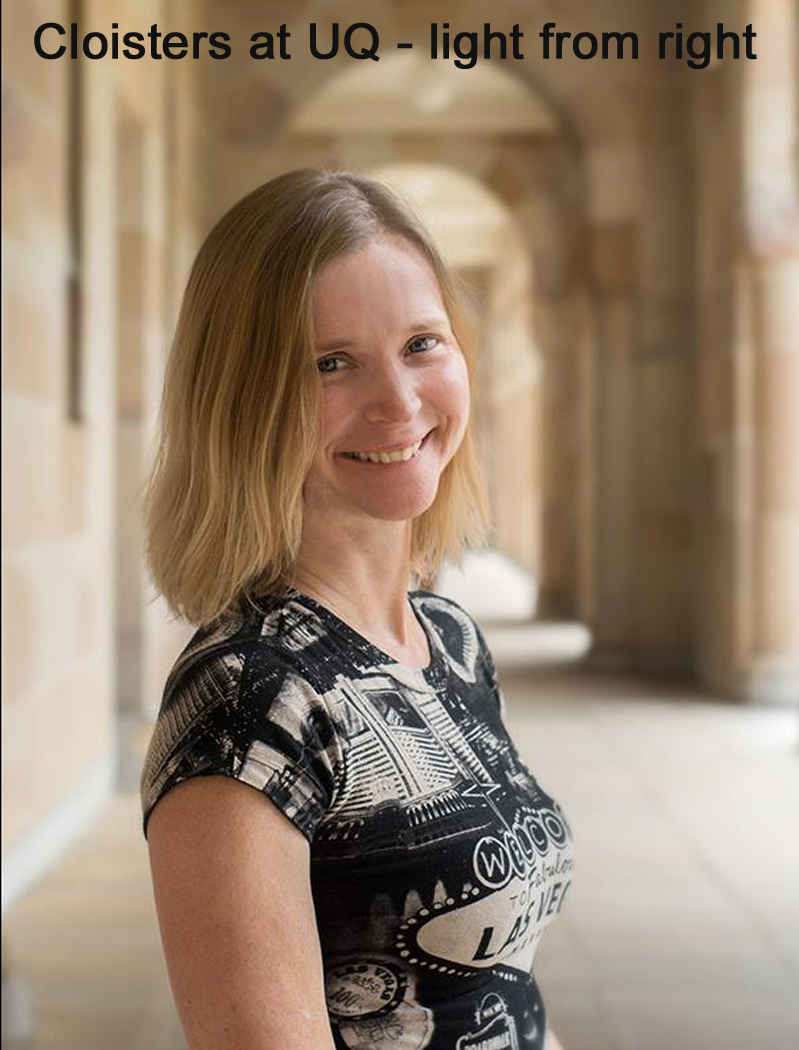
- Light must have a direction.
With regard workflow, Rob:
- Converts to black and white by de-saturating in camera raw filter
- Never sharpens, but prefers to increase Clarity if necessary
- Vignette also added in camera raw filter using the Graduated Filter button (top bar)
- Use levels to check if your blacks are black and your whites are white; to set your whites, press the Alt key on Windows and Option key on Mac and slide the right hand slider right until little bits of white appear in the black (then bring back until the whites are one) and to set the black, use the left hand slider and hit Alt or Option – drag the slide left and the screen turns white with bits of black – the black shows clipping, so drag the slider right until they’re gone.
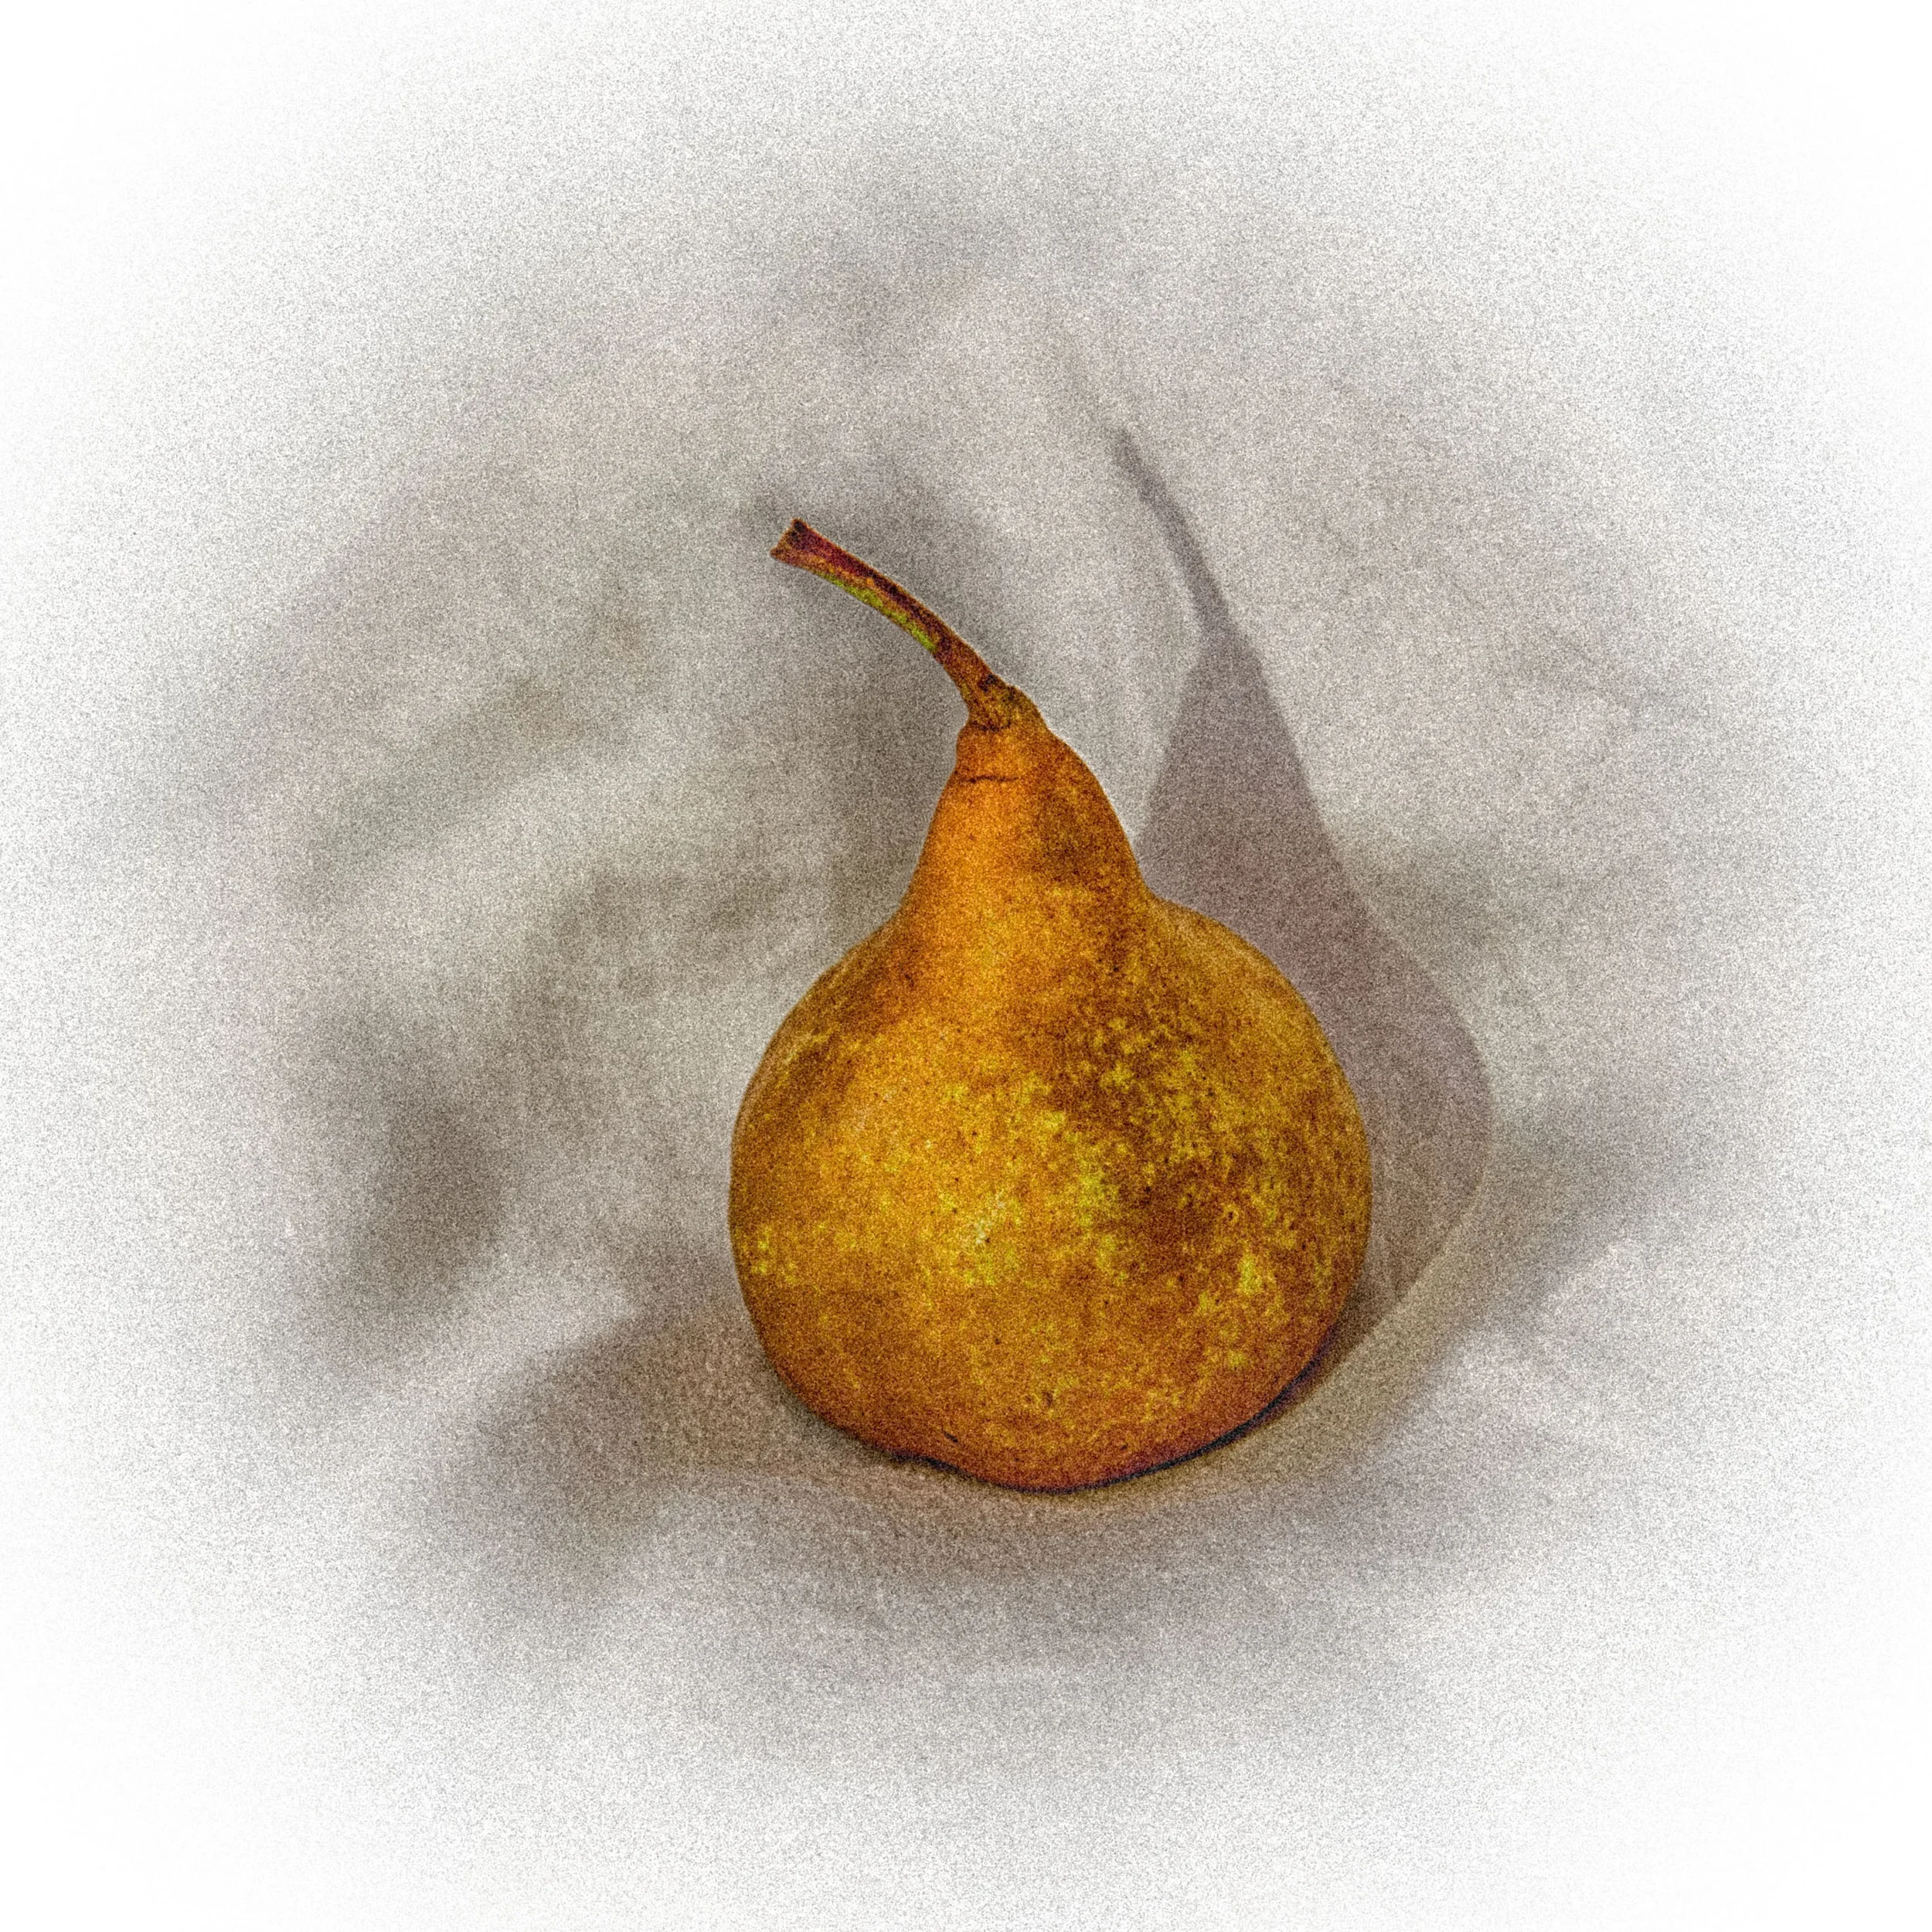
What QCG has given me - by member Roger Bartlett
Another editorial in our series which portrays visually and in words the progression of our members as a result of belonging to a camera club. This story is from Roger Bartlet, the initiator of our bi-annual Print Project and a wonderful photographer.
I joined QCG in 2013 to improve my photography, and to meet people with a similar interest. It is fair to say, while we may not always socialise outside of QCG functions, I count fellow members as close friends.
When I look back at my earlier photographs, to what I am doing now, I can say that my photography has improved immensely. Judges’ comments, for example from moving 2 – 3 steps to the left, or right, can make a huge difference. Taking it to the extreme can take away a tree growing out of a person’s head. It has taught me the effects that cropping can have, to using light. Fellow member Ray Shorter’s evenings on Lightroom are always most interesting.


I was fortunate to take out top prizes at my first convention in 2014 for a photograph taken in Spain titled “Life at #3”, to having won the club still life print, single pear, in 2016, to the Black and White print of the year in 2018.